

Growing up, homemade vanilla pudding was one of my favorite desserts. My grandmother and aunt would often layer it with bananas and Nilla wafers to make a Southern-style banana pudding.
But here's the thing, I didn't like the bananas. I'd always pick them out and go straight for the creamy pudding and those soft, soaked wafers.
That love of the pudding itself is what inspired me to create my own version, layered with Nilla wafers and finished with whipped cream.
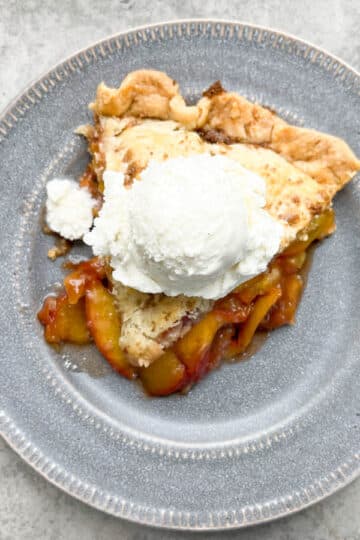
If you love classic Southern desserts like banana pudding, sweet potato pie, peach cobbler, or Southern peach pie with fresh peaches, I think you'll love this one too. It's simple to make. You'll need egg yolks, flour, sugar, milk, real vanilla bean paste, and a little butter to add to the richness.
This stovetop vanilla pudding, made in a double boiler, comes out silky smooth, thick and creamy, and so much better than boxed mix.
Let me show you how to make it.
Step-By-Step Instructions
This old-fashioned vanilla pudding comes together on the stovetop with just a handful of simple ingredients.
By cooking it slowly in a double boiler and whisking continuously, you'll end up with a thick and creamy pudding that's smooth.
Here's my double-boiler set-up.

Set up a double-boiler by filling a wide skillet or saucepan with 1-2 inches of water.
Place the pot inside so the bottom touches the water, then heat gently over low to medium heat. This gentle method prevents scorching and helps the pudding cook slowly for a silky smooth texture.

Add the dry ingredients to a large pot, then gradually whisk in the milk and egg mixture until smooth.
Place the double-boiler over low-medium heat.
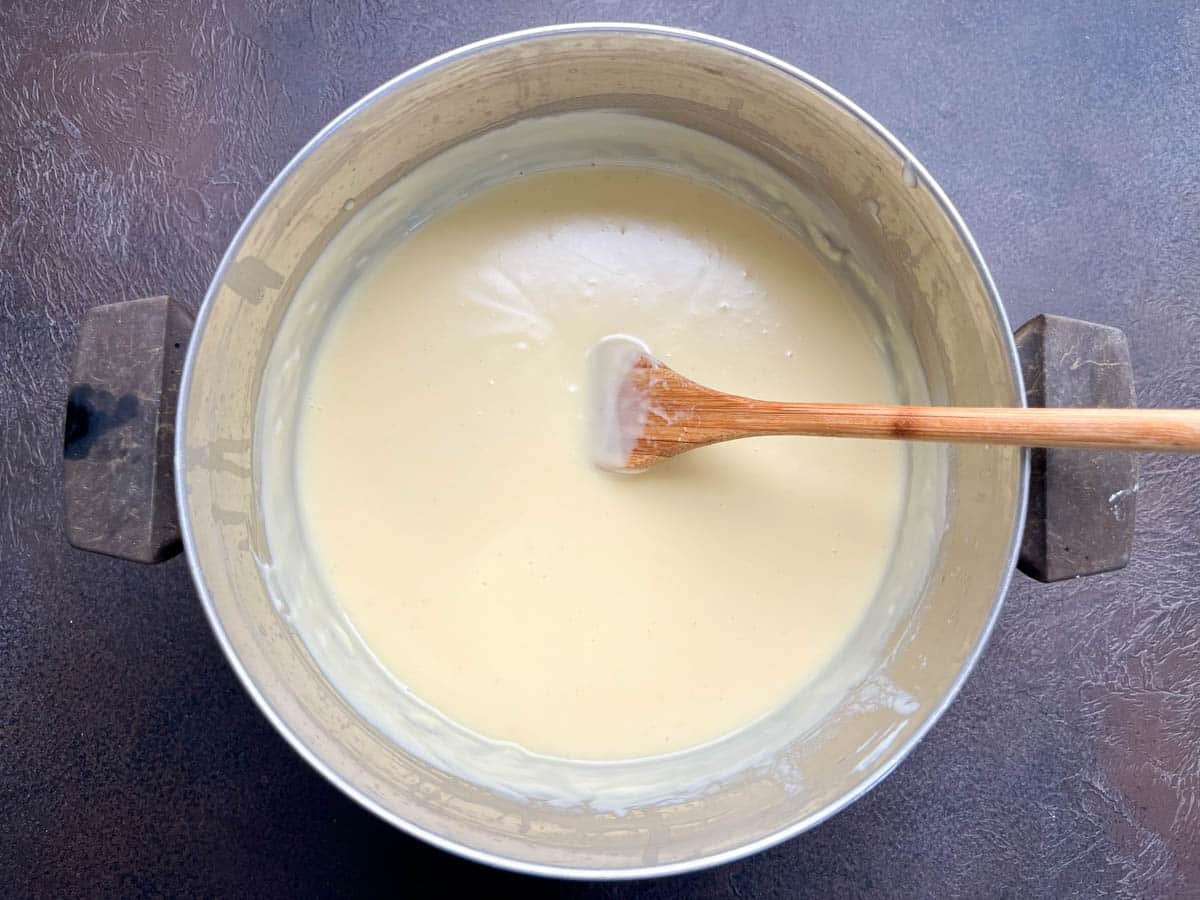
Start whisking continuously and use a wooden spatula or spoon to gently scrape the sides and bottom of the pot until you get a smooth, silky, thick creamy pudding.
Remove from heat, then stir in the vanilla bean paste and butter until fully combined and smooth.
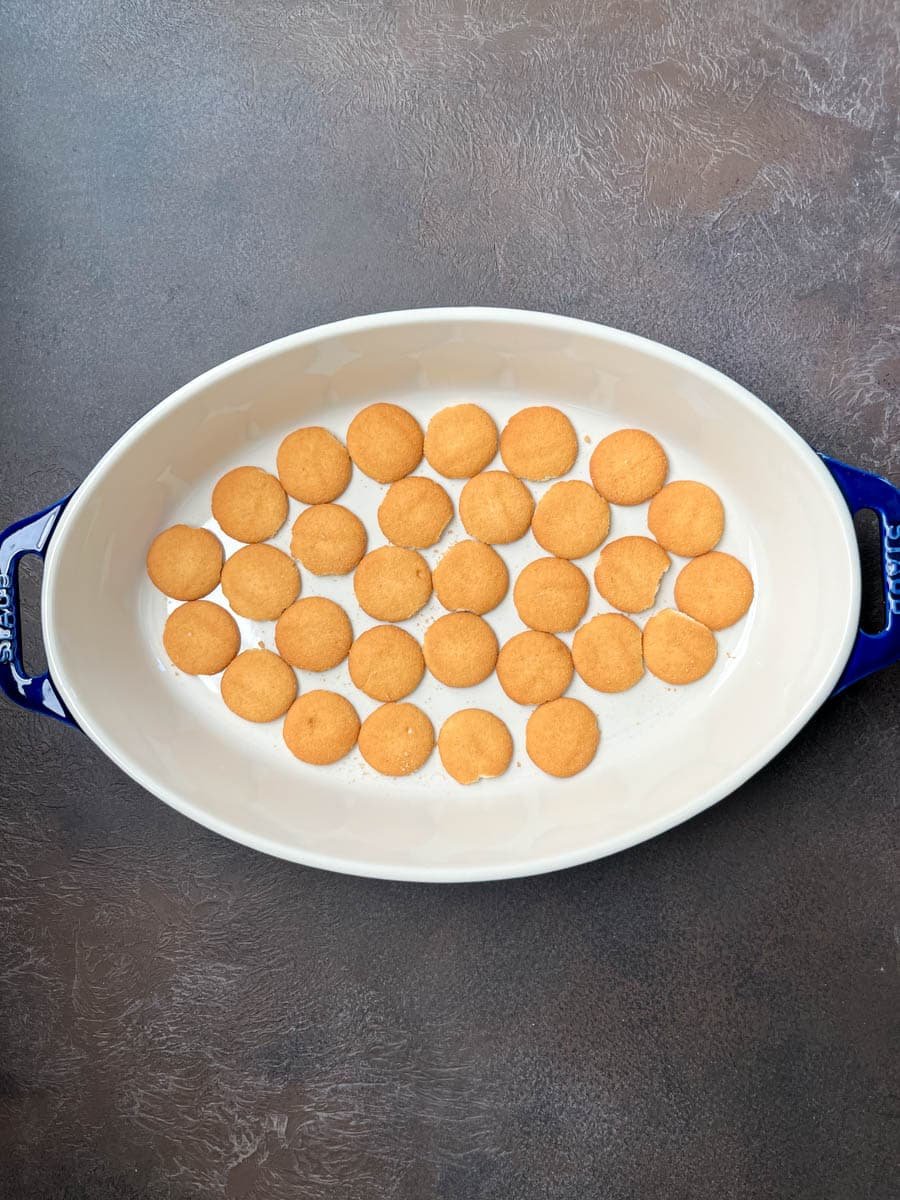
Arrange Nilla wafers in a single layer across the bottom of a casserole dish.
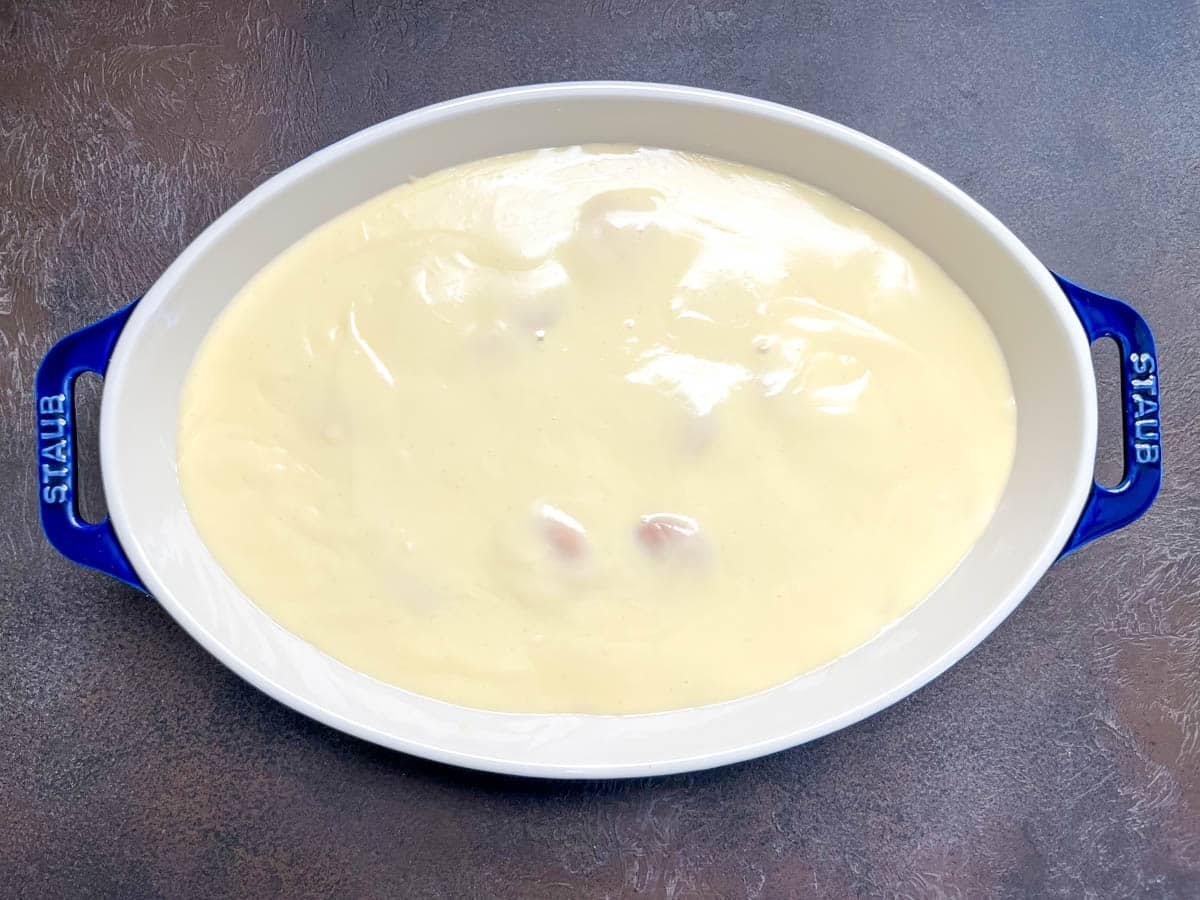
Pour half of the pudding over the wafers, then add another layer of Nilla wafers and finish with the remaining pudding.
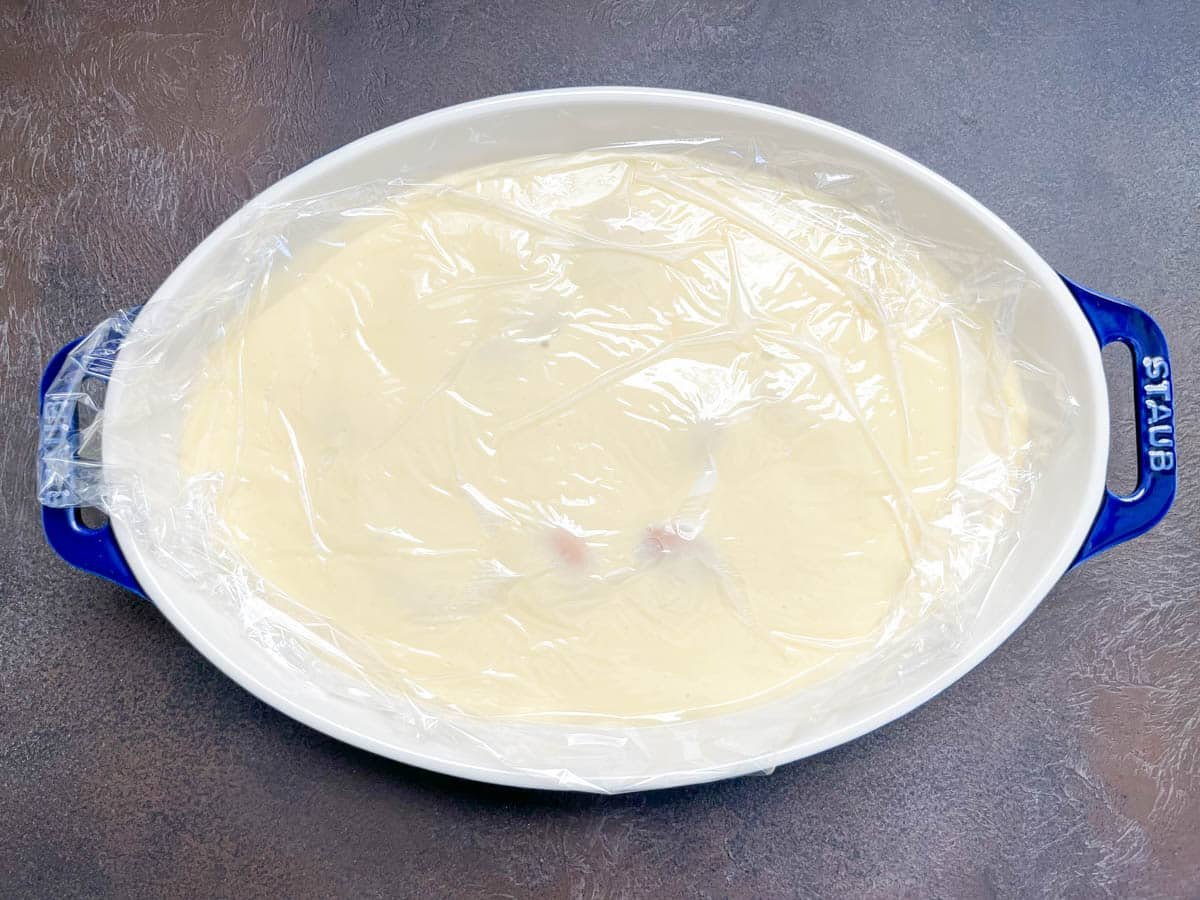
Gently press plastic wrap directly onto the surface of the pudding, then refrigerate until fully chilled.
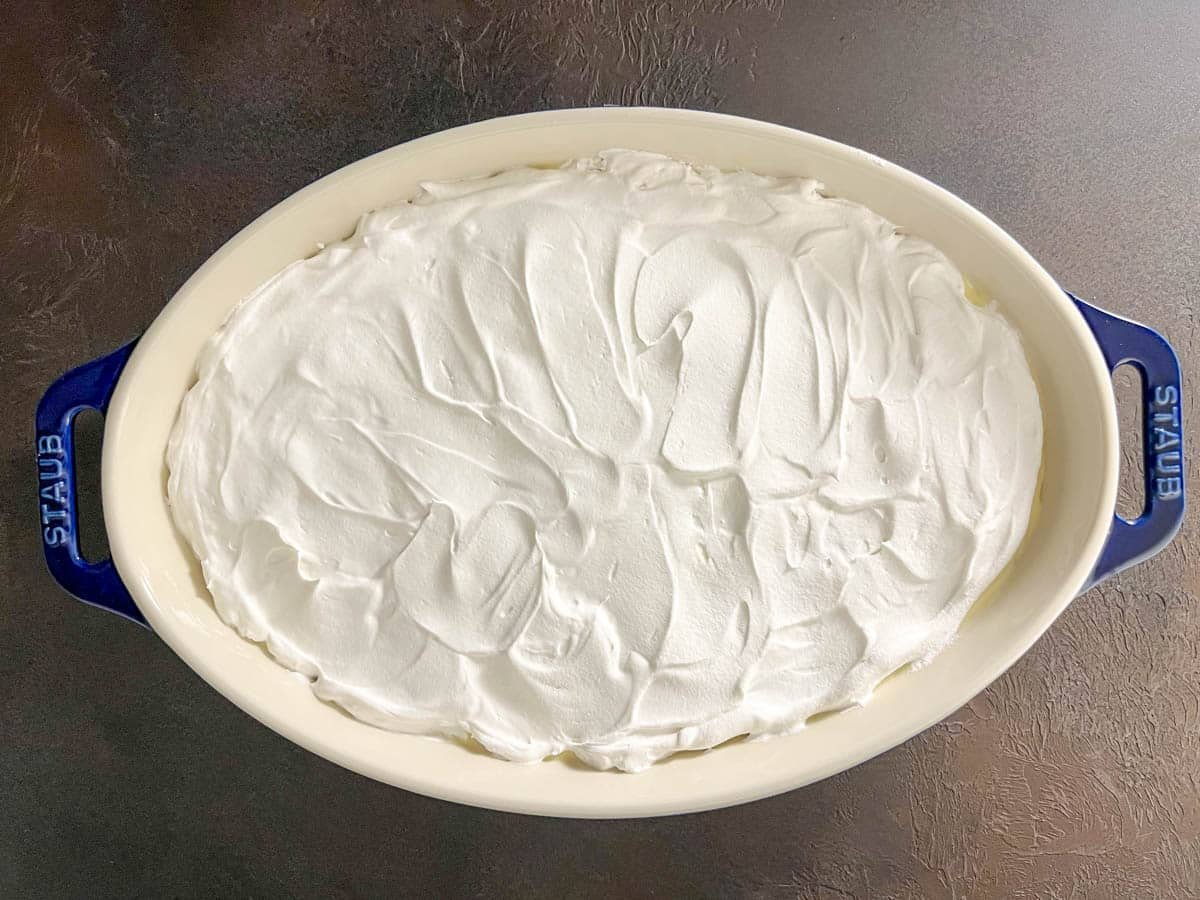
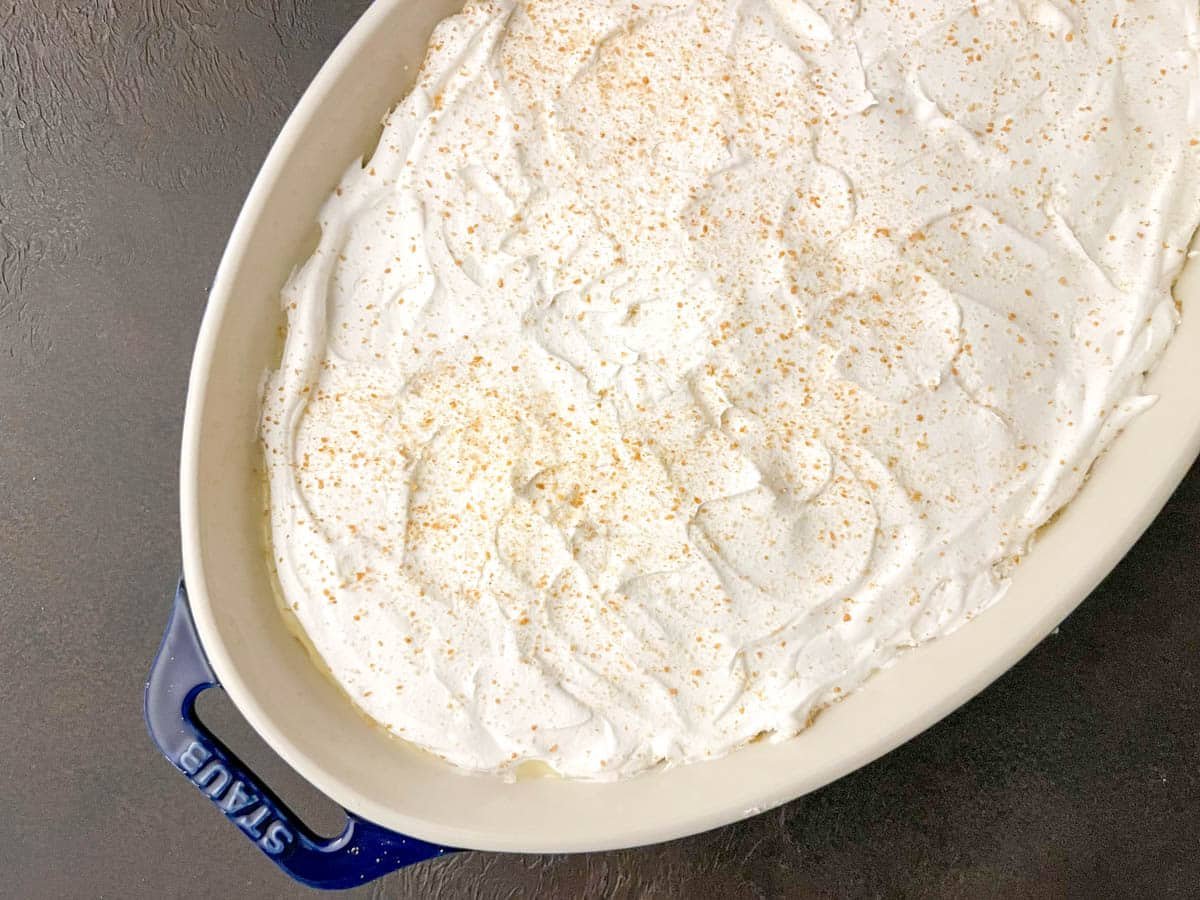
Top with whipped cream, then refrigerate again for at least 3 hours or until set.
Cree's Top Tips
- Use 2% milk or whole milk for the right balance of creaminess.
- Whisk and stir constantly over the double boiler; you really do need to babysit the pudding.
- If you see lumps forming, strain the pudding through a fine-mesh sieve.
- Chill the pudding at least 3 hours, although I recommend longer before serving to allow it time to set.
- Press plastic wrap directly onto the pudding before chilling to keep the surface silky and smooth.
Homemade Whipped Cream vs Store-Bought
I'll be honest, I'm not a baker, but I do know how to make homemade whipped cream. The thing is, I've found that homemade whipped cream isn't as stable as store-bought. If there are leftovers, it tends to lose its shape and texture by the next day.
That's why I usually reach for Truwhip. Not only does it hold up better, but it also tastes great and keeps the pudding layers looking fresh.
Of course, if you're planning to serve and eat the pudding all in one sitting, homemade whipped cream is a great option.
Around here, though, we make it a point not to eat the whole dessert in one day unless we have guests, so I prefer the consistency and convenience of Truwhip.
How to Make Homemade Whipped Cream
If you'd like to make it from scratch, it only takes a couple of minutes:
- Chill a mixing bowl and beaters in the fridge for 10-15 minutes.
- Add 1 cup heavy whipping cream, 2-3 tablespoons sugar, and 1 teaspoon vanilla extract to the bowl.
- Beat on medium-high speed until soft peaks form.
📖 Recipe

Homemade Vanilla Pudding from Scratch (Southern-Style)
Homemade Vanilla Pudding from Scratch (Southern-Style)Equipment
- Medium-Large sized pot or double-boiler
- Mixing bowl
- measuring cup
- Measuring spoon
Ingredients
Dry Ingredients
- 1-⅓ cups all-purpose flour
- 2 cups sugar
- ½ teaspoon salt
- 1 box Nilla wafers
Wet Ingredients
- 11 eggs (YOLKS ONLY)
- 7 cups milk (whole or 2% milk)
- 1-½ teaspoon vanilla bean paste
- 2 tablespoon butter
- 1 tub whipped cream (store-bought or homemade)
Instructions
- Measure 1 cup of water and set aside.
- In a medium pot large enough to hold all ingredients, whisk together the flour, sugar, and salt.
- In a separate mixing bowl, whisk the egg yolks until smooth. Add the milk to the yolks and whisk again until combined.
- Slowly whisk the egg and milk mixture into the pot with the dry ingredients until everything is well blended.
- Set up the double boiler: Place the pot with the pudding mixture inside a larger saucepan or skillet that can hold it. Add the measured water to the bottom saucepan (about 1-2 inches). Place on the stove over medium heat.
- As the mixture heats, whisk continuously to avoid lumps. Alternate between a whisk and a wooden spoon, stirring often, for about 25-45 minutes or until the pudding becomes thick, creamy, and smooth.
- Remove from heat and stir in the vanilla bean paste and butter until fully combined.
- In a casserole dish, arrange a single layer of Nilla wafers. Pour half of the pudding mixture over the wafers (use a measuring cup or other cup to do this). Add another layer of Nilla wafers, then top with the remaining pudding.
- Press plastic wrap directly onto the surface of the pudding to keep the top layer smooth. Refrigerate until completely cooled, at least 45 minutes or longer before adding the whipped cream.
- Once the pudding has fully chilled, spread whipped topping evenly over the top.
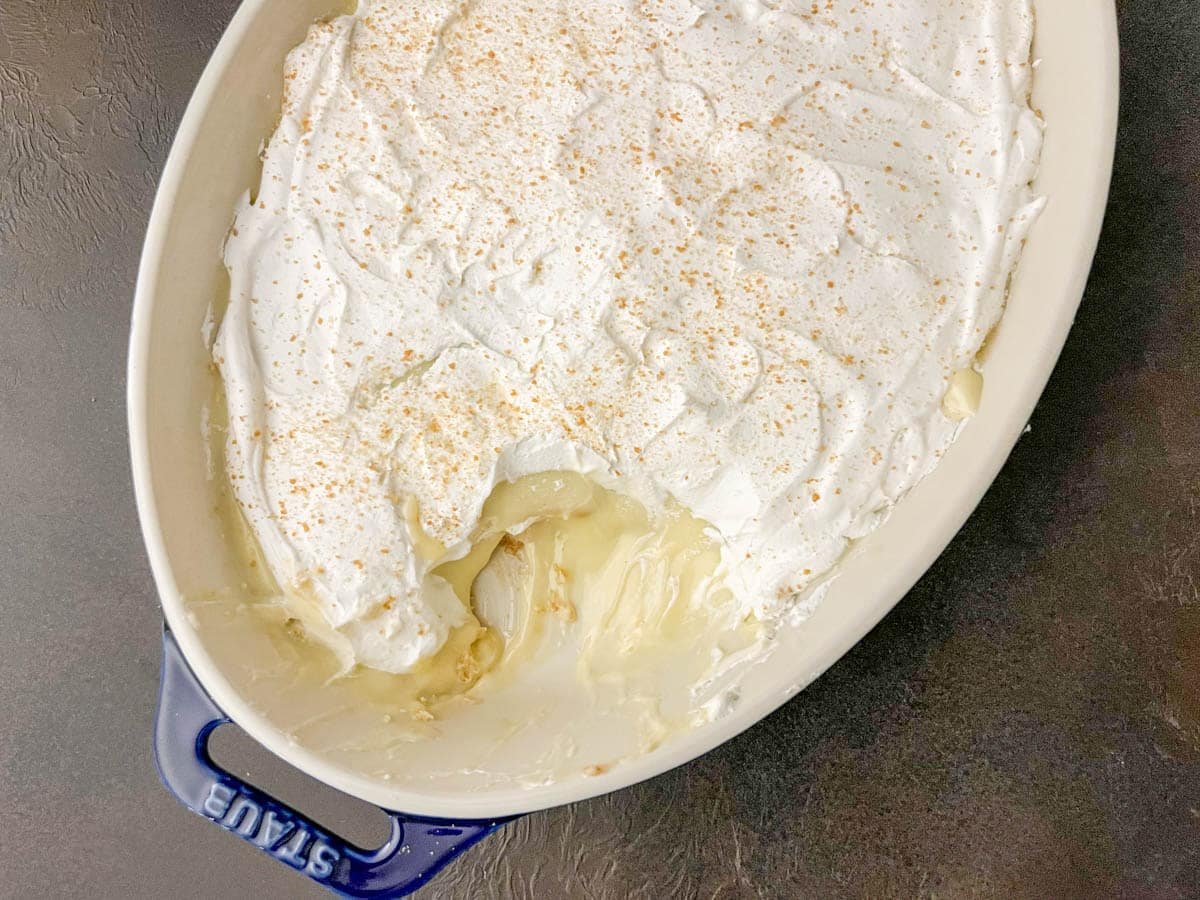
- Garnish with extra crushed Nilla wafers if desired. Serve chilled and enjoy.
Notes
- Whisk constantly while the pudding cooks, this is the key to a silky, lump-free texture.
- Keep the heat low to medium; a gentle simmer prevents curdling and helps the pudding thicken slowly.
- Press plastic wrap directly on the pudding before chilling so it stays smooth and creamy.
- Let the pudding cool completely before adding whipped topping so it holds its shape.
- You will know that your pudding has reached the correct consistency (thickness) when the back of your wooden spoon is well coated. If you run your finger along the back side of the spoon, it should leave a clean streak.
Nutrition
Nutrition Disclaimer
Nutritional information is an estimate provided by an online nutrition calculator. For the most accurate results, we recommend calculating the nutritional information using the specific ingredients and brands you use.


Mickey says
I assume you can use REAL vanilla bean in this for that extra BOOST of flavor?
CookingwithBliss says
Hi Mickey - Yes, absolutely. Had I had real vanilla bean on hand I would have certainly used it. Thanks for visiting.